Group bookings are used for larger bookings such as society days, functions, conferences etc. These would be used when more than one activity or resource are being booked (e.g. Golf and Function Rooms).
From the Main Menu of the Retail System, select Bookings:
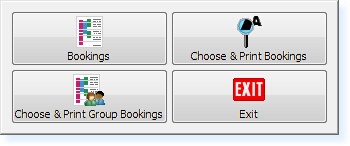
The following menu will appear. Select Bookings
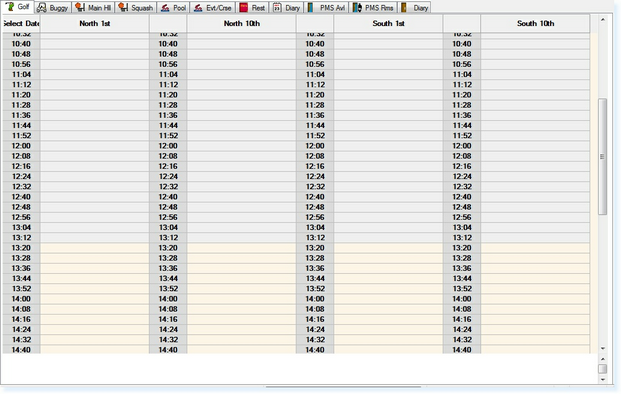
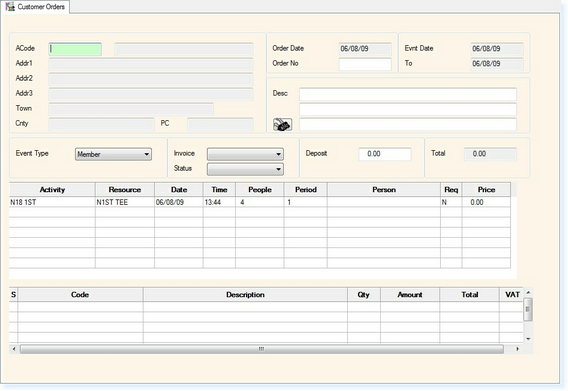
The bookings screen will now appear as below.
Select the activity you wish to book for the main activity of the group booking. The Individual Booking File will now be shown as below.
From the toolbar select F7 - Groups. You will then receive a prompt as below.
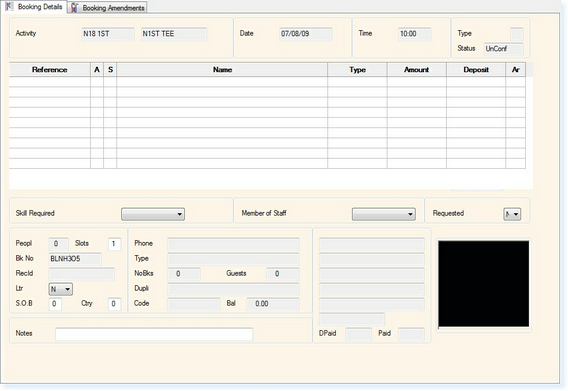
Select Yes. A new window will now open for the group booking details as below.
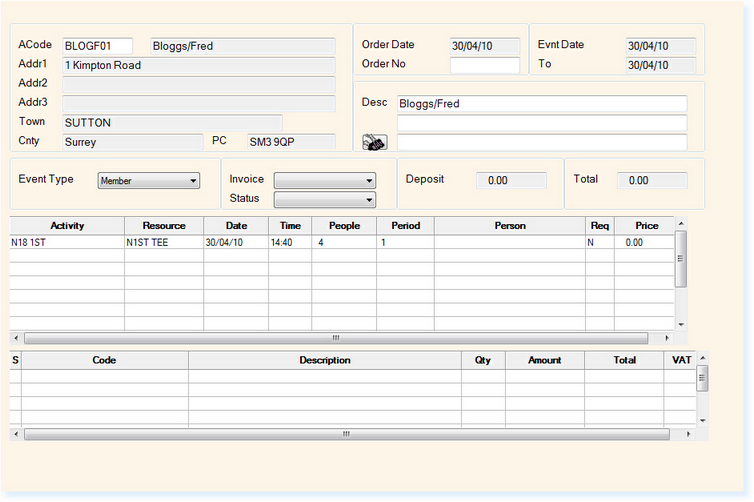
Customer Details The first item you must enter is an Customer Details. At this point you have multiple options available to complete the customer details, which are:
The next field is Order No. This is not automatically generated and can consist of up to 8 alphanumerical characters.
The first line of the Description fields is the description which will show up on reports and event forms. The remaining two lines are for additional information or contact details. If you leave the description field blank it will populate the first line with the Surname and First name from the customer record, as in the example below.
From the Event Type list you can define whether this is a society, function, conference etc. This will help with financial analysis on the Weekly Sales and Period Sales Reports.
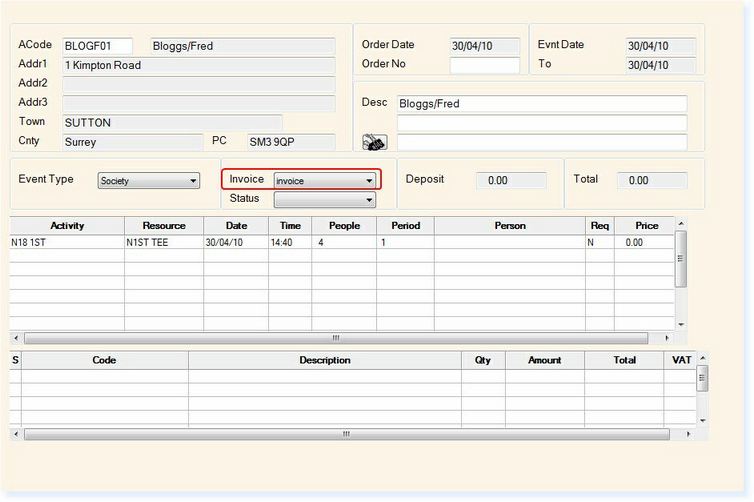
If you require an A4 Invoice to be printed when the bill is processed, the Invoice field must have the 'Invoice' option selected, as shown below.
Activities The middle section of the screen consists of the activities/resources that have been booked.
When you initially create a Group Booking, there will only be one activity listed which you originally chose to start the booking.
To add more items ensure the cursor is within the grid on a blank line, as shown below.
Select F10 Add from the toolbar at the top of the screen. This will return you to the booking screen to select the next activity/resource. Select another activity to book by double-clicking on the appropriate time. You will then be returned to the Group Booking and the additional activity will be displayed in the grid, as shown below.
Activities will be displayed in Date and Time order.
On each of the lines it is possible to amend the number of people and period/number of slots which are booked for each activity, as long as you have the space availability for them, as shown below.
Charging The bottom section of the screen is for the list of charges to be entered.
With the cursor in the box under Code, select F1 - Help and the following menu will appear with 3 different types of charges which can be added to a Group Booking. Select an option from the menu to find out further information.
When you have finished adding the charges to the group booking you can select F2 - Exit to save the booking.
|
||||||||