To add Event Messages for a specific Class/Event/Course:
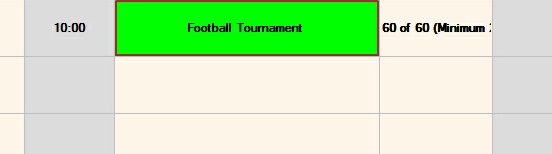
From the Booking Screen, single click on the Event Block so that the red border is around the event, as shown below.
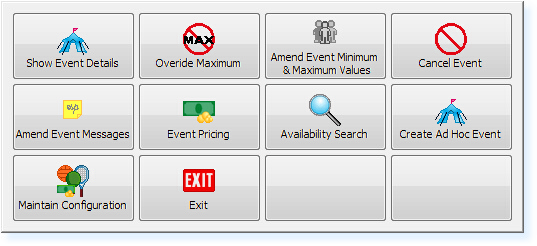
Select F7 Action and the following menu will be displayed.
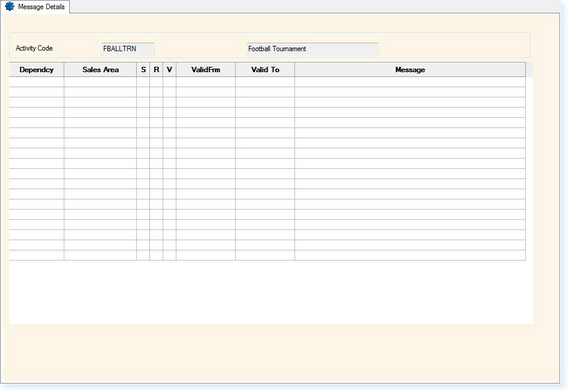
Select Amend Event Messages. The following screen will be displayed
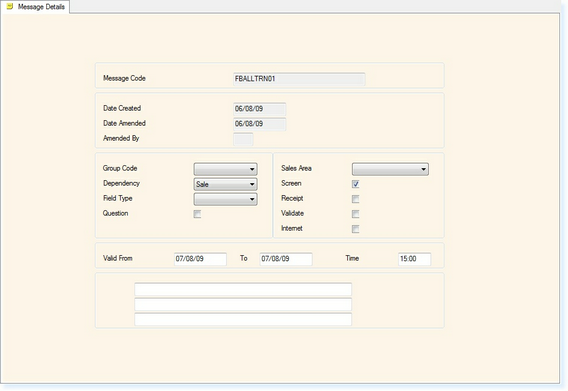
Select F3 - Amend to add a new message to the list. The screen below will then be displayed.
The first field to complete is the Dependency. If you want the message to appear when you create the booking, select CreateBk, but if you want the message to appear when you exit/save the booking select MakeBook.
The Field Type would be left blank
The Question field would be populated with a Y if message was to be a question with a Yes or No answer. Alternatively leave the field as N for an OK box to be displayed to exit from the message.
If you want the message to only appear in a specific Sales Area, e.g. the Retail Shop, select this from the drop-down box. Alternatively, if you want the message to appear at all terminals, leave this field blank.
By selecting Y in the following three boxes, you would specify whether you wish the message to appear on the Screen, the Receipt and/or the Attendee Ticket.
The Valid From and To Dates are the dates between which the message will appear.
The Time field can be left blank unless you only want the message to appear at a specific time on each of the days.
The bottom three boxes are for the message to be entered as you want it to be seen on the screen, receipt and/or attendee ticket. Please note there is a maximum of three lines for the message.
Select F2 - Exit to save the message.
|