Using the Add Event to Calendar Option is a way of adding Events to the bookings screen individually rather than in multiples at a time.
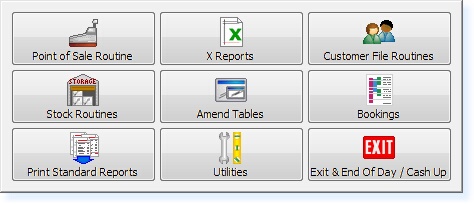
From the Main Menu of the Retail System, select Bookings.
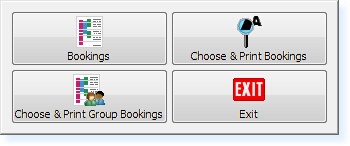
The following menu will appear. Select Bookings
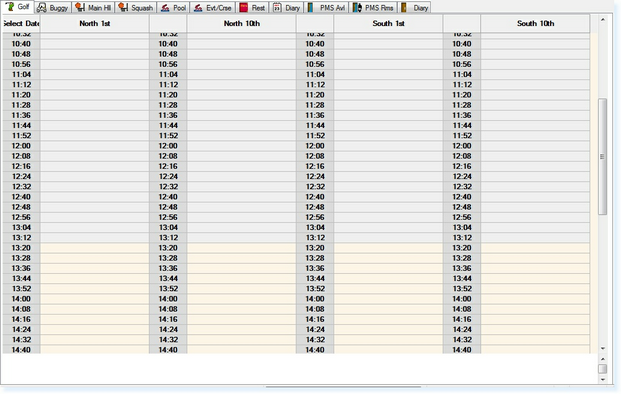
The bookings screen will now appear as below.
Within the Bookings screen, select F7 - Action. The Action Menu will appear.
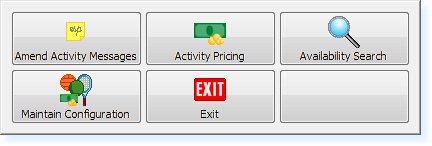
From the Actions Menu, Select Maintain Configuration and the following menu will be shown.
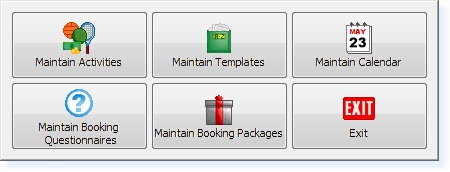
Select the Maintain Templates option from this menu. The following menu will now appear.
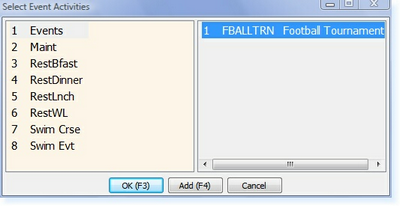
Select Add Event To Calendar from this menu. You will then see a list of Event Activities as shown below.
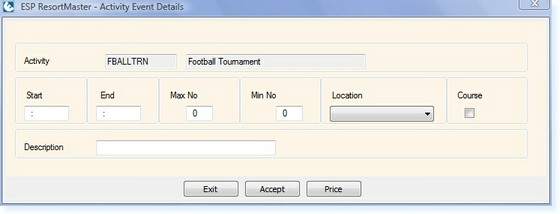
Select the activity from the list that you want to add to the Booking Screen. You will then see the following screen.
Enter the Start and Finish Time for the Event.
Enter the Maximum and Minimum Number for the Event along with the Location from the drop-down selection box.
If this is a course, check the box labelled Course.
The Description box at the bottom of the screen allows you to enter an alternative description for the event that will be displayed on the Booking Screen.
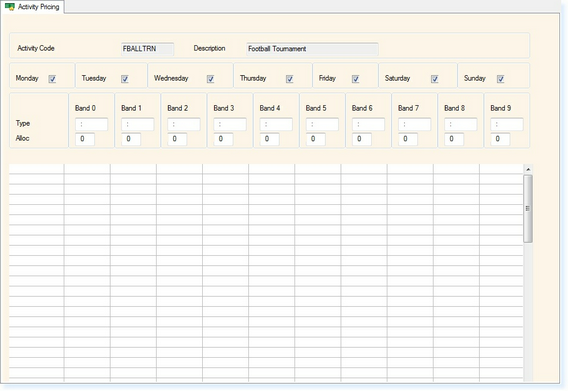
Select F3 Accept and the following screen will be displayed.
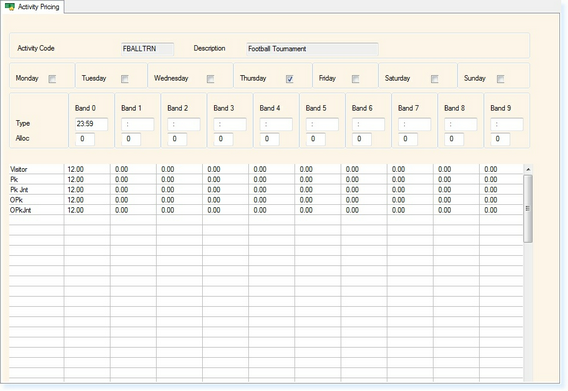
Select the days the event is required by using the check boxes at the top.
Highlight the box underneath Band 0, enter '23:59'
Double click in the left-hand column and select the relevant Pricing Groups.
Enter the price for the activity, dependant upon whether the activity has been configured as per person or per booking.
The screen should look like the example shown below.
Select F2 Exit and you will now be asked to enter the date range, as shown below.
Once you have entered the dates, select F3 - Accept. The event will now have been added to your booking screen.
|